Technical Approach:
Preparation of Source Images
- Capture Three Photos:
- Full Moon: Take a clear photograph of the full moon.
- Two Waning Moons: Photograph the waning moon twice.
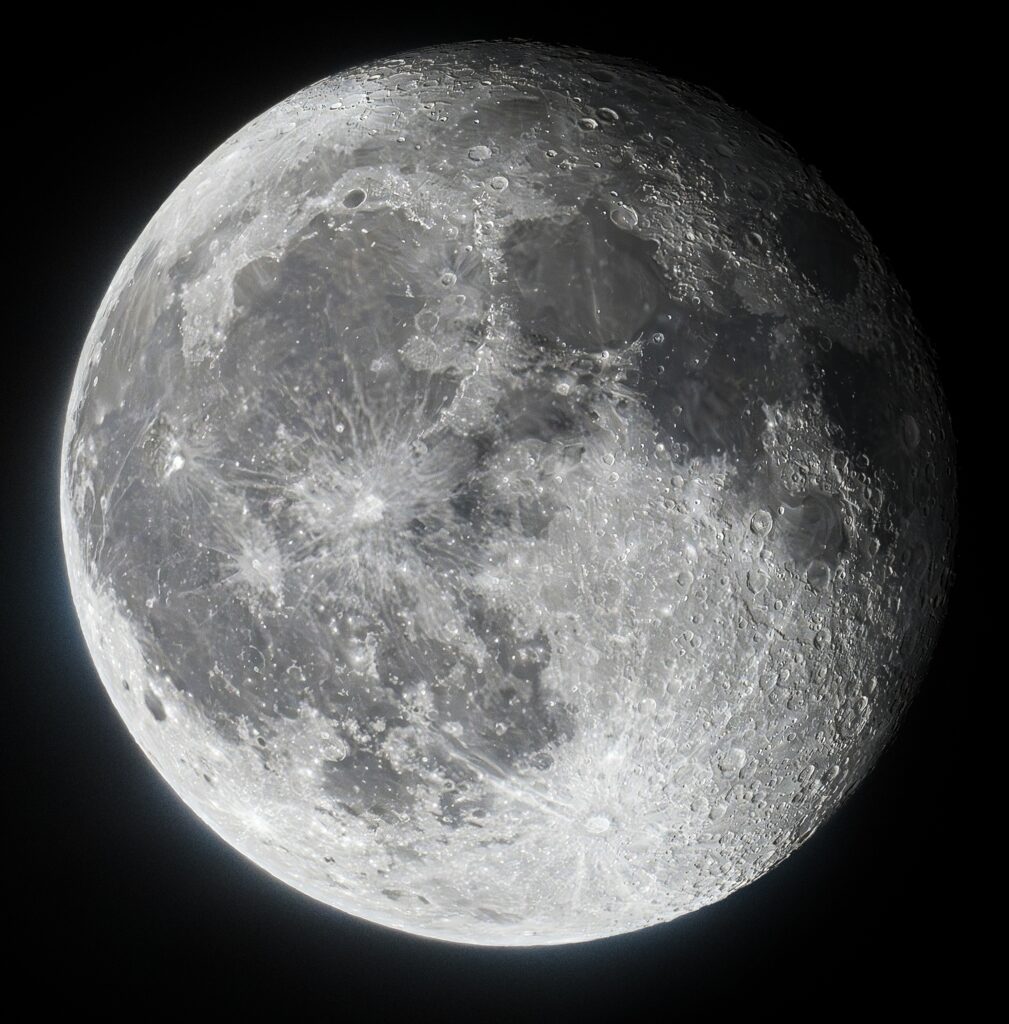
- Overexposed Waning Moon: For one of the waning moon images, apply an exposure compensation of +3 levels to create an overexposed effect, which will enhance the halo effect around the moon.
Image Alignment
Due to the natural rotation of the moon, the full moon and waning moon images may not align perfectly. Follow these steps to achieve the best possible fit:
- Maximal Fit Alignment:
- Import all three images into Photoshop as separate layers.
- Select the waning moon layers and reduce their opacity to approximately 50%. This transparency adjustment will help in visually aligning the moons.
- Use the Move Tool (V) to adjust the position of the waning moon layers, aligning them with the full moon as closely as possible.
- Once aligned, restore the opacity of the waning moon layers to 100%.
Masking and Blending Adjustments
To seamlessly blend the different moon phases and eliminate any harsh transitions, perform the following adjustments:
- Removing Backgrounds:
- Select each waning moon layer and remove the black background using the Magic Wand Tool (W) or the Select Subject feature, followed by masking.
- Creating Mask Layers:
- Add a Layer Mask to each waning moon layer.
- Apply a Curve Adjustment within the mask to darken specific areas of the full moon, ensuring a balanced exposure across the composite image.
- Smoothing the Junctions:
- Select the mask layer and choose a soft brush with low opacity.
- Gently paint on the mask to smooth the transition between the full moon and waning moons, eliminating any noticeable seams or harsh edges.
Incorporating the Overexposed Moon for the Halo Effect
Enhance the halo effect around the full moon by integrating the overexposed waning moon image:
- Adding the Overexposed Layer:
- Place the overexposed waning moon layer below the full moon layer in the layer stack.
- Blending the Halo:
- Apply a Soft Light or Overlay blending mode to the overexposed layer to naturally integrate the halo effect with the full moon.
- Adjust the opacity as needed to achieve a subtle and realistic halo.
Final Touches
Ensure the composite image looks cohesive and visually appealing by performing the following final adjustments:
- Color Correction:
- Apply overall color balance adjustments to harmonize the tones between the different moon layers.
- Sharpening:
- Use the Unsharp Mask filter to enhance the details of the moon surfaces without introducing noise.
- Cropping and Framing:
- Crop the image to remove any unwanted edges and to focus the composition on the moon.
Workflow Summary
- Capture Images:
- Full Moon
- Two Waning Moons (one overexposed with +3 exposure compensation)
- Import and Align:
- Place images in Photoshop as separate layers.
- Adjust opacity and position for maximal alignment.
- Masking:
- Remove black backgrounds.
- Apply curve adjustments on mask layers.
- Smooth transitions with soft brushes.
- Enhance Halo:
- Add overexposed layer with appropriate blending mode.
- Finalize:
- Perform color correction, sharpening, and cropping.